
Thermal camera user guide
A thermal camera is a very simple tool. Switch it on, it sets itself up in moments, and you can start measuring.
It does everything automatically; there is nothing to set. The options below are only for when you want more from it.
This guide covers both Bosch cameras we rent: the GTC 400 C and the GTC 450 (full name GTC 12V-450-13 Professional). The steps are the same; we point out where the buttons differ.
Bosch's own manuals are at the bottom of the page.
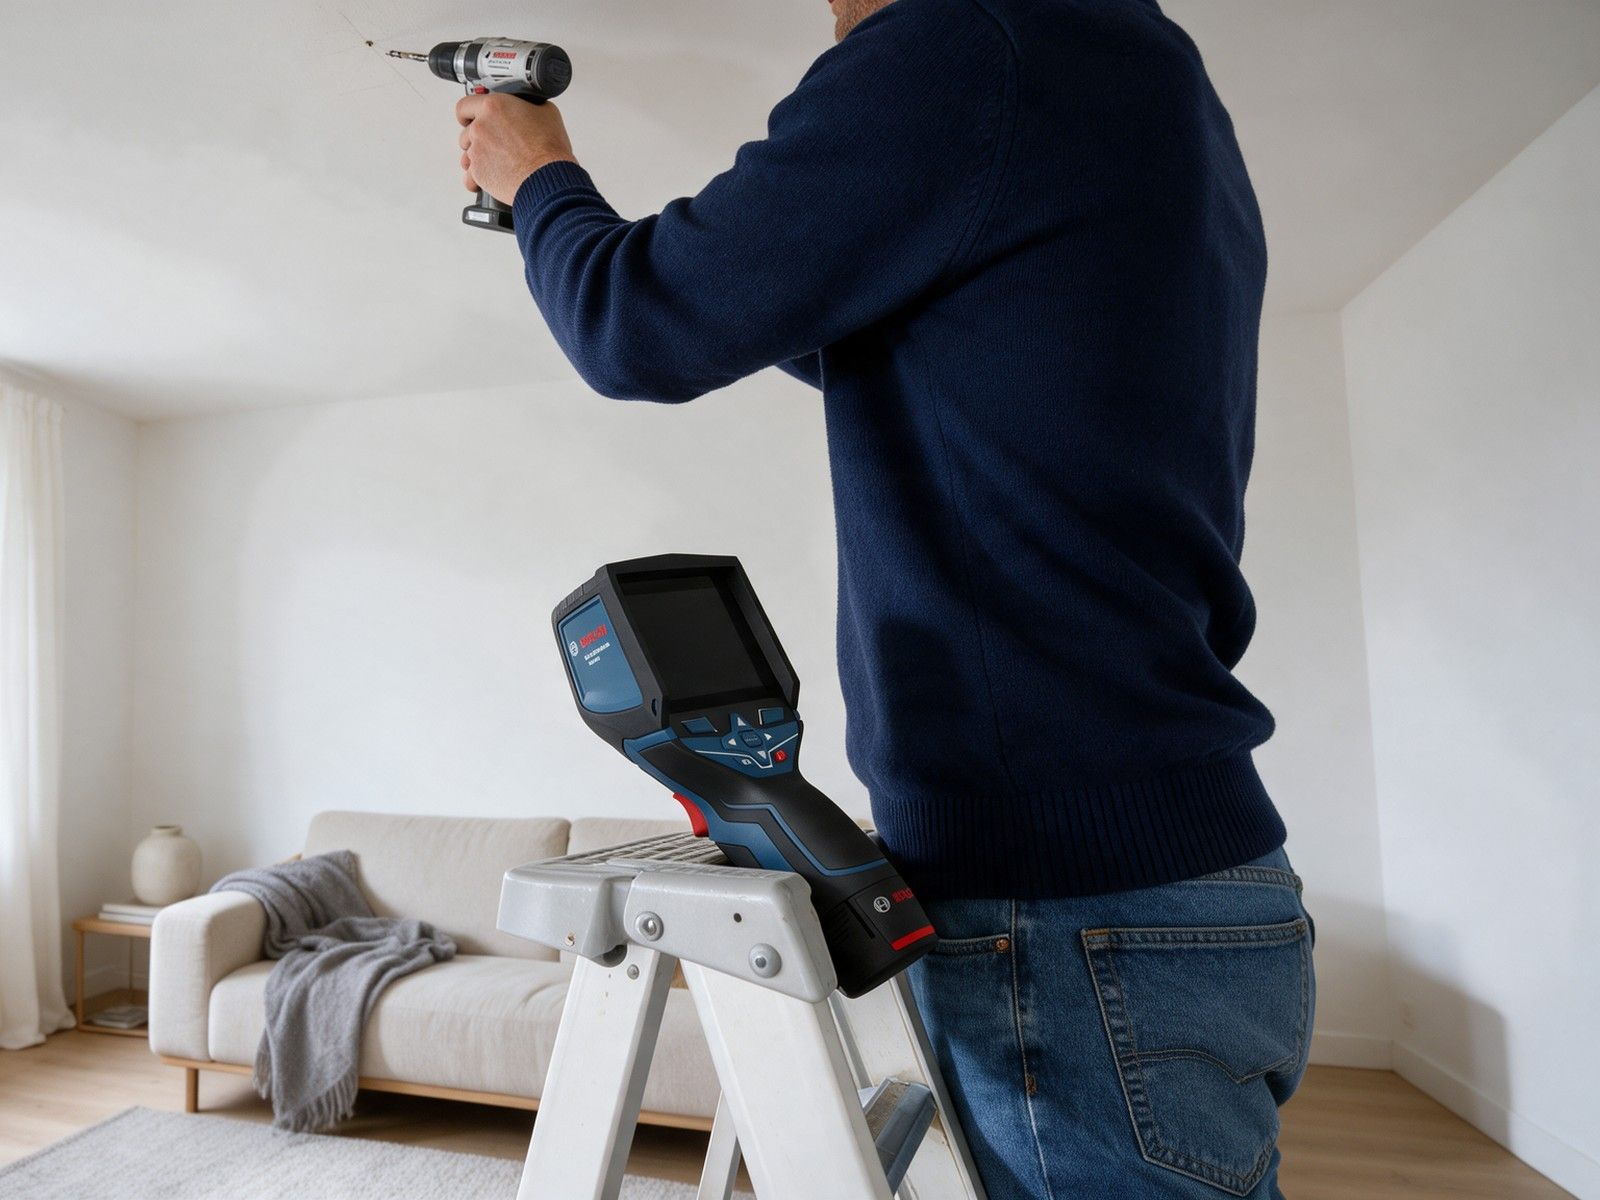
Ceiling heating and cooling: find the pipes before you drill
A thermal camera is not an X-ray. It sees the warmth of the ceiling surface, not through it. The pipes show most clearly in the minutes after you switch the heating on, before the heat spreads.
Get ready
- Switch the heating off a few hours before you start, and air the room. The ceiling cools down.
- When you are ready to look, turn the heating up to its highest setting.
- After a few minutes the pipe pattern appears. This is when it is sharpest: once the heat spreads out, the picture blurs.
- The return pipes warm up more slowly, so they show later.
Mark the pipes
- Hold the camera square to the ceiling, at least 50 cm away.
- Mark the pipes with a pencil.
- Check every mark again with the camera before you drill.
GTC 450: Hold the laser button and the laser marks the spot you are measuring, which makes the pencil work easier.
Before you drill
Behind very well insulated finishes the pipes may not show. Ask your installer, or check the building plans. They tell you what you are drilling into and how far to stay from a pipe.
Cooling works the same way: switch it off beforehand, then on when you start. The pipes may show as cooler stripes. If you cannot see them, ask your installer.
Getting started: switch on and measure
- Press the on/off button. The camera calibrates itself in moments and measures automatically.
- If you bring it in from the cold in winter, let it warm up in the room for a little while. It reads more accurately that way.
- On one charge the GTC 400 C runs for about 5 hours, the GTC 450 for about 8.
- The USB cable does not charge the battery; use the charger in the kit.
First steps
Which camera do you have?
Both have arrow keys. The GTC 400 C also has a "Func" button; the GTC 450 has a laser button, and the centre of its arrows is a button too.
Switch on
Slide the battery in until it clicks, and flip up the protective cap. Press the on/off button: it sets itself up in moments and starts measuring. On first start, the GTC 450 asks for language, date and time.
Reading the image
Warmer surfaces show in warm colours, cooler ones in cool colours. The ends of the scale are the warmest and coolest points in the picture. The crosshair in the middle shows the temperature at that point.
Colours show differences within the picture, so a blue surface can still be warm. Read the exact value on the display.
Lock the colour scale
When you compare two spots, lock the colour scale. The same colour then means the same temperature in both images.
Saving images
- GTC 400 C: press the Save button. To look first, pull the trigger: the image stops, and another pull carries on measuring.
- GTC 450: press the Measure button and the image stops. Press the button in the centre of the arrows to save it, or Measure again to go back.
- Both cameras store a thermal image and a normal photo with every save, up to 500 images.
Viewing images
- GTC 400 C: the gallery button (left function key) opens your images; the left and right arrows browse them.
- GTC 450: main menu, Gallery; the up or down arrow shows the normal photo.
Transferring images
Connect the camera to a computer with the supplied cable, then switch it on. It appears as a drive ("BOSCH GTC 400 C" or "GTC_450"), and you copy the images across. Always eject the drive before you unplug, or the camera's memory can be damaged.
The GTC 400 C can also send images to the Bosch app over Wi-Fi. The GTC 450 has no Wi-Fi, only the cable.
After use
Copy your images, then switch the camera off. To switch off the GTC 450, hold the on/off button for a second. Close the cap, take the battery out and put the camera in its case.
The key buttons
Most of the time you only need on/off and save. The rest helps when you want a closer look.
| What you want | GTC 400 C | GTC 450 |
|---|---|---|
| Stop the image | Freeze button | Measure button |
| Save an image | Save button | Measure button, then the centre button |
| Change colour palette | Left or right arrow | Side bar: colour palette |
| Normal photo on the thermal image | Up or down arrow | Left side bar: visual image, picture in picture |
| Lock the colour scale | Right function key | Right arrow, then the centre button |
| Warmest and coolest point | Func, right function key, Display | Main menu, Display settings |
| Set the material | Func, right function key, Measurement, Emissivity | Main menu, Measurement parameters, Emissivity |
| Mark the spot | none | Laser button, held down |
| Work light | none | Side bar: LED on |
| Back to measuring | Freeze button | Measure button |
On the GTC 450, open the menu with the centre button or the left arrow. A short press on on/off takes you back one level.
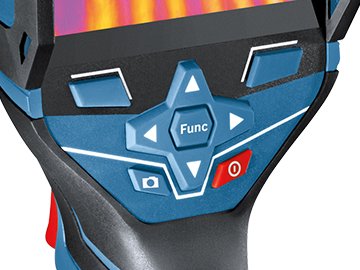
Bosch GTC 400 C
- 14 Display
- 13 Gallery (left function key)
- 5, 8, 10, 12 Arrow keys (palette, view)
- 7 Right function key (lock scale)
- 6 Func button
- 11 Save button
- 9 On/off button
- 17 Trigger: stops the image (front, on the grip)
- 18 Battery (base of the grip)
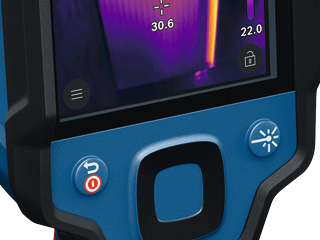
Bosch GTC 450
- 19 Display
- 18 On/off button (back)
- 17 Arrow keys with a centre button
- 13 Laser button
- 6 Measure button (front, on the grip)
- 14 Battery
Useful measuring modes
You see pipes and heat loss well without these. Switch them on when you are curious about the details.
Warmest and coolest point
When switched on, a red crosshair marks the warmest point and a blue one the coolest. A loose connection or a weak spot in the insulation stands out at once.
Normal photo on the thermal image
Picture in picture or the see-through view shows exactly where you are measuring. The two images line up exactly at 0.55 m on the GTC 400 C and at 1 m on the GTC 450.
Hot or cold area search (GTC 400 C)
Choose it with Func. Only the warmer or cooler parts are in colour, the rest is grey. A red cable or a blue window frame will not fool you.
Manual scale (GTC 400 C)
A hot radiator in the picture swamps the small differences. In manual mode you set both ends of the scale yourself.
Laser and work light (GTC 450)
At 1 m the laser marks exactly the crosshair spot. Do not point it into anyone's eyes. The work light helps in the dark and switches itself off after 2 minutes.
The two cameras
| GTC 400 C | GTC 450 | |
|---|---|---|
| Thermal resolution | 160 × 120 | 256 × 192 |
| Measuring range | −10 to +400 °C | −20 to +450 °C |
| Accuracy | ±3.0 °C | ±2.0 °C |
| Minimum distance | 0.3 m | 0.5 m |
| Display | 3.5″ | 2.8″ |
| Image transfer | Wi-Fi and Micro-USB | USB-C |
| Laser and work light | no | yes |
| Runtime per charge | about 5 h | about 8 h |
| Dust and splash protection | IP53 | IP54 |
| Storage | 500 images | 500 images |
| Weight | 0.54 kg | 0.35 kg |
Every step in this guide works on both cameras, and both come with the same kit. Only the buttons differ.
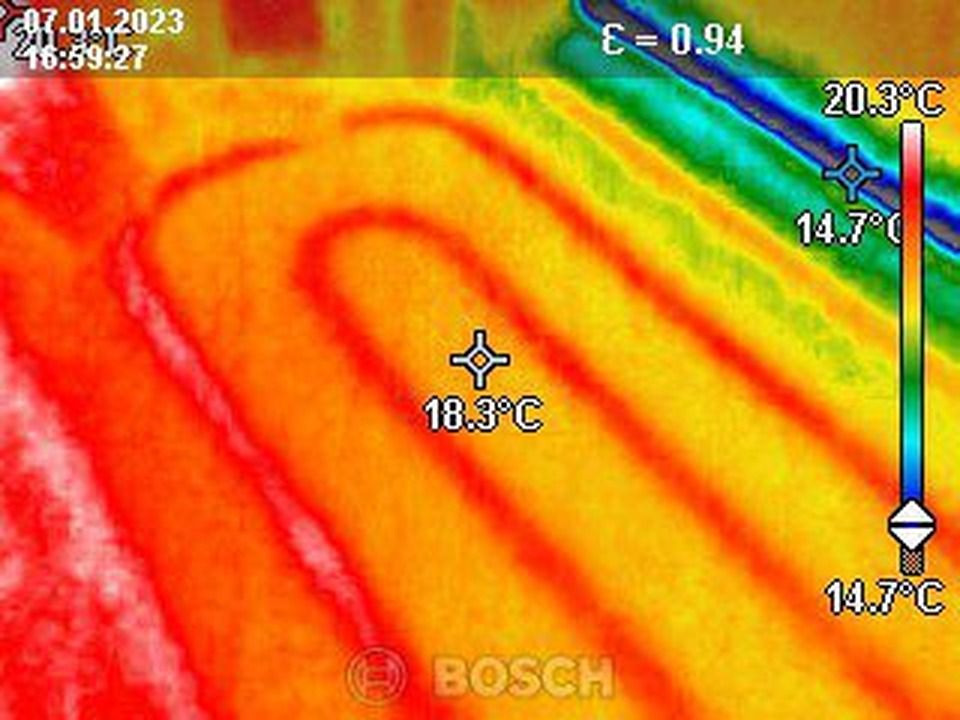
Underfloor heating
Switch the underfloor heating off beforehand, then on at its highest setting when you start. The pipes show most clearly in the first minutes.
The heat reaches the floor surface, so it shows clearly. Check that every loop warms up evenly.
At the manifold you can also check that each loop is labelled with the right room.
If there is a leak, the image helps you narrow down where. Only a smaller area then needs opening.
Radiators
The image shows whether a radiator warms up evenly, so you can tell whether it needs bleeding.
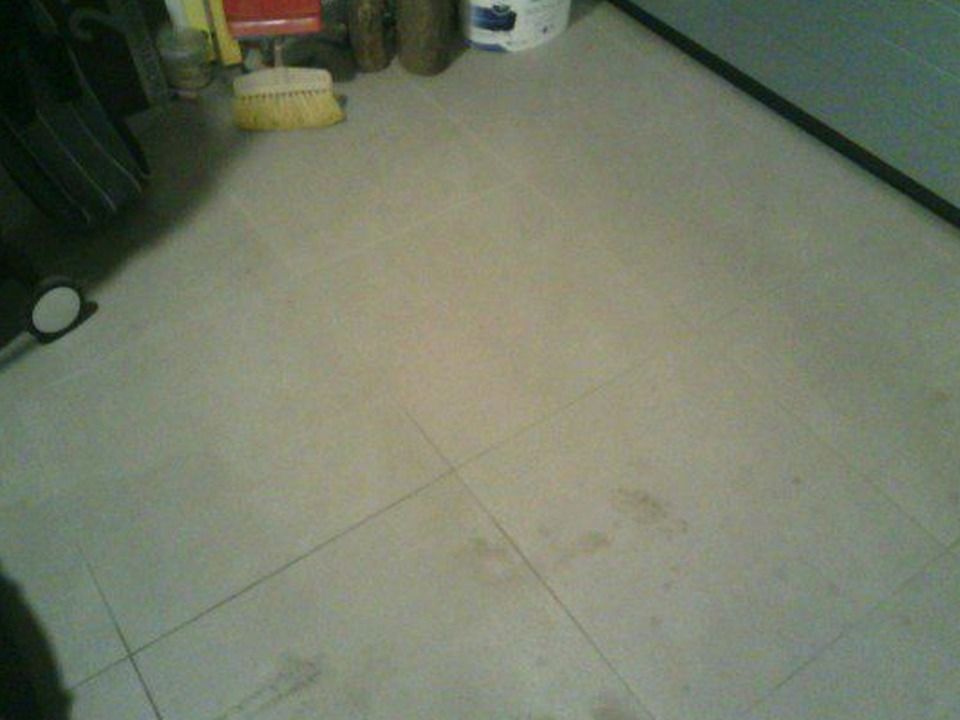
Heat loss and insulation
- Measure when it is at least 10 °C warmer inside than outside.
- Autumn and winter mornings in dry weather work best.
- Keep direct sun and rain off the wall before you measure.
- Look at the whole wall from a distance first, then move in on anything odd.
- At windows, doors and roller-shutter boxes, it also finds where the draught comes in.
From inside, a thermal bridge or a gap in the insulation shows as a cooler patch; from outside, warmer. Cooler wall surfaces are more prone to mould. This way you can check a family house or any building, room by room. On a hot day with the air conditioning on, at least 10 °C warmer outside, it works the other way round: from inside, a thermal bridge shows as a warmer patch, because that is where the heat gets in.

Leaks and damp
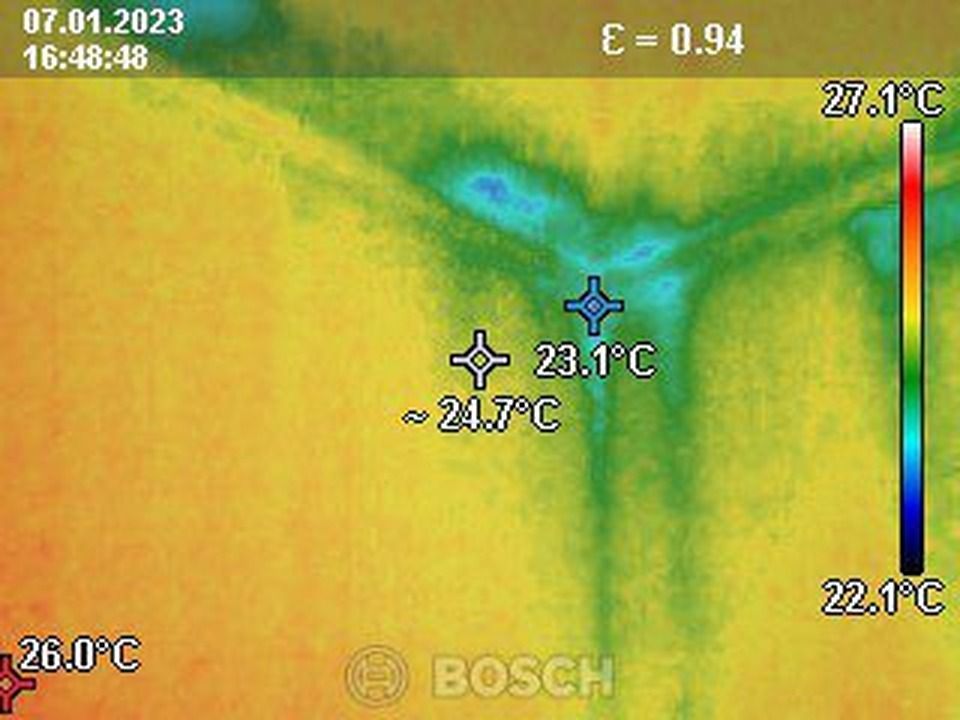
Wet surfaces look cooler, because evaporation cools them. This also needs a temperature difference.
On roofs and walls, damp shows best straight after rain. You can also check whether new plaster or paint has dried.
In a cellar, water seeping through the waterproofing shows up the same way.
Electrical panels
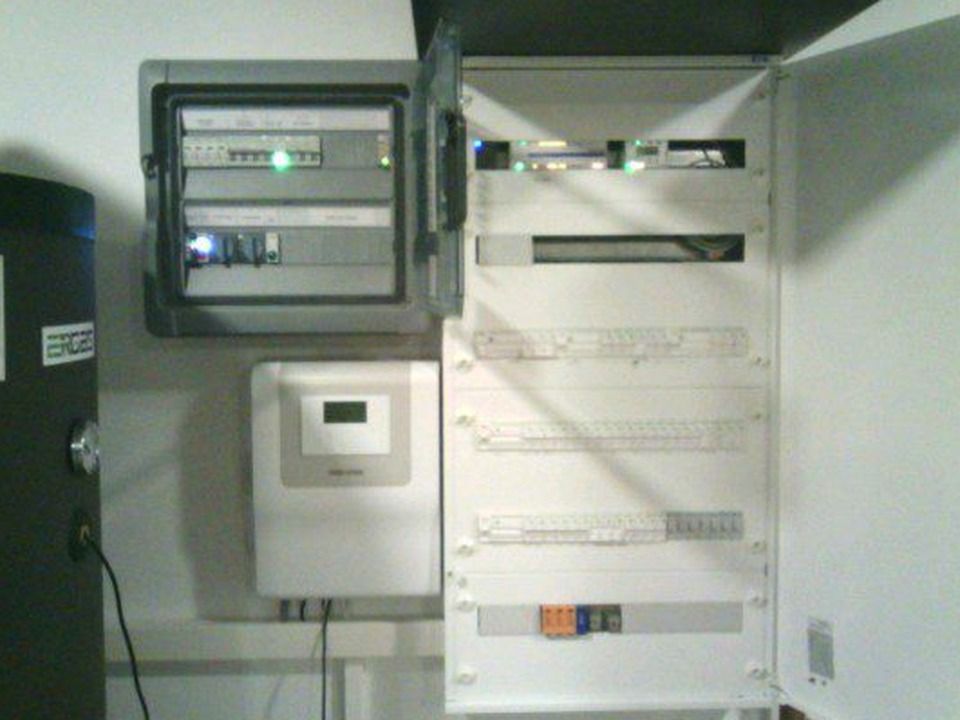
Only open an electrical panel if you are qualified to. The camera does not replace an electrician.
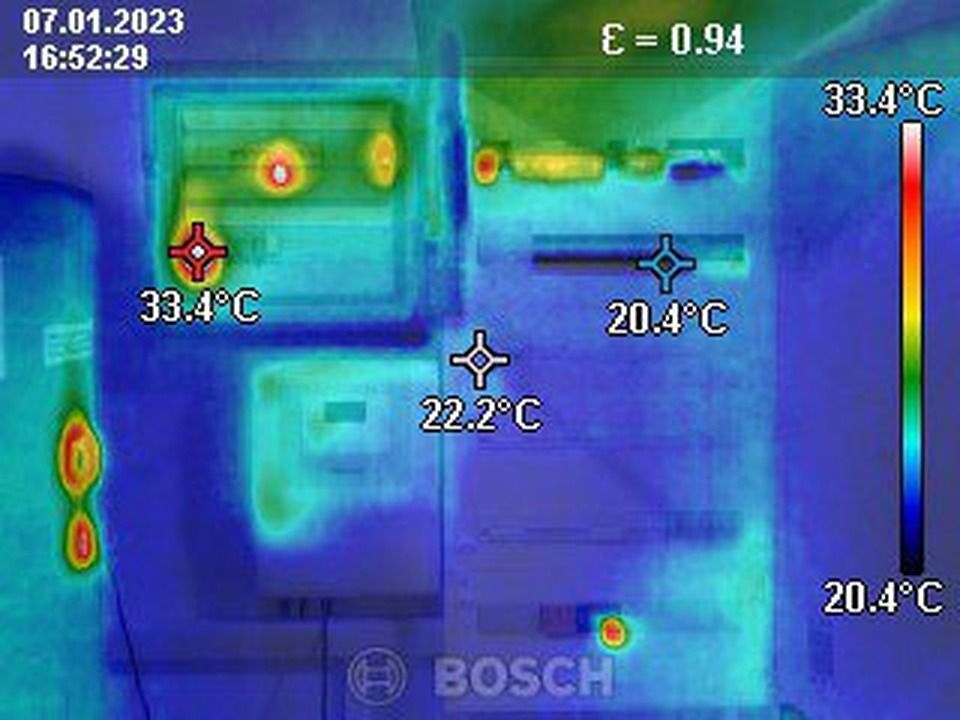
If you are qualified, scan the whole panel. An overheating connection, fuse or overloaded cable stands out on the image.
Switch on the warmest-point marker. In the GTC 400 C's hot area search, only the hot parts are in colour.
Getting a reliable reading
To find pipes or heat loss you do not need exact degrees: the difference is what counts. This part helps when you want an exact value.
- Shiny surfaces reflect: glass, metal and tiles can give false readings.
- Glass acts like a mirror. The camera cannot see through it.
- Measure at a slight angle, so you are not measuring your own reflection.
- On bare metal, stick on dark matt tape. Give it a moment to take the surface temperature, then measure the tape.
- Smoke, steam, humidity or dust spoil the reading. Air the room, then wait until it is back to its usual temperature.
- Get as close as you can: closer is more accurate. The minimum is 0.3 m (GTC 400 C) or 0.5 m (GTC 450).
When you need exact degrees: set the material
Set the material you measure (emissivity) in the menu. When you change it, adjust the reflected temperature too: indoors, that is roughly the room temperature.
| Material | Emissivity |
|---|---|
| Concrete, plaster, brick, radiator paint, roofing felt | 0.93 |
| Wood | 0.91 |
| Paper | 0.89 |
| Linoleum | 0.88 |
How much do you see at once?
| Distance | One pixel on the wall | Area you see |
|---|---|---|
| 0.5 m | 3 mm | about 0.5 × 0.4 m |
| 1 m | 6 mm | about 1 × 0.75 m |
| 2 m | 12 mm | about 2 × 1.5 m |
| 5 m | 30 mm | about 5 × 3.8 m |
From further away you see more, in less detail. The GTC 450's higher resolution gives a more detailed picture from the same spot.
If you cannot see anything
- Ceiling or floor evenly warm: the heat has already spread. Switch the heating off for a few hours, air the room and start again.
- No pattern at all: check that the heating really runs, and wait a few minutes.
- The image pauses for a moment: the camera is calibrating itself. That is normal, and it carries on by itself.
- A ~ sign before the temperature (GTC 450): the camera is still adjusting. Wait a few minutes.
- The camera will not switch on: charge the battery. If it came in from the cold, let it warm up first.
- The computer does not see it: switch the camera on after plugging in the cable, and use the supplied cable.
- Shiny surface: measure at an angle, or use matt tape.
- Too close: step back to at least 50 cm.
- Still nothing? Call us on +36 30 789 8007.
A few good habits
- Never point the camera at the sun: strong sunlight harms the sensor.
- Keep it out of the rain, avoid knocks, and carry it in its case.
- Do not point the GTC 450's laser into anyone's eyes.
Frequently asked questions
How long until ceiling heating pipes show up?
A few minutes after you switch the heating on; the return pipes take longer. For the clearest picture, switch the heating off for a few hours first and air the room.
Can a thermal camera see pipes behind plasterboard?
It is not an X-ray: it sees the surface, not through it. If the pipe's warmth comes through the board, the pattern shows. Behind very well insulated finishes it may not.
What temperature difference do I need to check insulation?
At least 10 °C between inside and outside. That is why autumn and winter mornings work best.
Can it find a leak?
It helps you narrow one down, because wet surfaces look cooler. A plumber confirms the spot and does the repair.
How do I get the images off the camera?
By cable to a computer, where the camera shows up as a drive. The GTC 400 C can also send them to the Bosch app over Wi-Fi.
Why do tiles or windows give strange readings?
Shiny surfaces reflect, and glass acts like a mirror. Measure at a slight angle, or stick matt tape on the surface.
How long does the battery last?
On one charge the GTC 400 C runs for about 5 hours, the GTC 450 for about 8.
Can a thermal camera find a lost cat or dog?
It can help at short range: in a shed, a garage, a garden or under a floor. It works best at dusk and at night. It is no use for searching open fields, and it cannot see through glass.
Can it find a marten or rodents in the attic?
It can help at short range: in an attic, above a suspended ceiling or in a shed, if the animal is in view. It works best in the cool of the night. It cannot see through walls, floors or insulation. Leave the removal to a professional.
Downloads
The manufacturer's manuals as PDF. Each booklet covers many languages, English included.
- Bosch GTC 400 C manual (PDF, 22.8 MB)
- Bosch GTC 12V-450-13 manual (PDF, 7.2 MB)
- GTC 12V-450-13 manual online, Hungarian version (on Bosch's site)
- GTC Transfer Software for GTC 400 C images (free, Windows, on Bosch's site)
The button numbers refer to the drawings at the front of the booklet.
Help during your rental
Stuck? Call +36 30 789 8007.